If you have been searching for the best exercises to build glutes, there is a good chance you have already seen a hundred different answers. More bands. More kickbacks. A different workout every time you open your phone.
What I want to give you here is something you can actually use: seven exercises, my demonstrations, the details worth getting right and a way to put a few of them into your training.
Which exercises should you start with?
Hip thrusts, glute bridges, squats, stiff-leg deadlifts, split squats, step-ups and hip abduction all have a place. Choose movements you can control, match the difficulty to your starting point and build your reps or load over time. You do not need all seven in one session.
The exercise matters. So does how you perform it, how hard the set is and whether you keep coming back to improve it. A list gives you options. A program gives those options a job.
Understand the goal
Building glutes and strengthening hips.
There is plenty of overlap, but these goals are not identical. Building glute muscle means giving it a repeatable training stimulus and enough recovery to adapt. Strengthening the hips also involves controlling your position and becoming stronger through the movements you need.
Your gluteus maximus is the large muscle involved in extending the hip—think standing up from a squat or lifting your hips in a thrust. The smaller gluteus medius and minimus contribute to moving the leg sideways and controlling the pelvis. Other muscles around the hip matter too; this guide focuses on the glutes rather than every possible hip exercise.
That is why I would not build a whole plan around one movement. The choices below cover hip extension, squatting, single-leg work and moving the thighs outwards.
There is also no universal winner. In a nine-week study of previously untrained adults, squats and hip thrusts produced similar glute growth, while squats produced more thigh growth. That does not rank every exercise, or guarantee the same response for everyone. It gives us a reason to choose based on the person and the rest of the program. [1]
This is a general gym-training guide. If you are managing hip or back pain, returning from an injury or recovering from surgery, have the exercise selection and loading checked for your situation. A glute workout is not a diagnosis or a treatment plan.
01 / Hip extension
Barbell hip thrust.
A useful option when you want to load the glutes with your upper back supported on a bench. The point is to extend through the hips while keeping the rest of the movement controlled.
What I want you thinking about
- Use a stable bench, position the support across your upper back and pad the bar across your hip crease.
- Keep your feet planted and your ribs controlled as you lift. Adjust your foot position so you can finish strongly without sliding or reaching.
- Finish with the hips extended, then lower under control. Stop before the movement becomes an exaggerated lower-back arch.
Common mistake: chasing extra height by leaning back through the spine.
Make it simpler: practise without a bar first, or start with a bodyweight glute bridge on the floor. Add load when the movement is repeatable.
02 / Floor-based hip extension
Barbell glute bridge.
This is the floor-based version in my video, with a barbell across the hips. Your shoulders stay on the floor, so the setup and range differ from a bench-supported hip thrust. The barbell version can still be demanding; “bridge” does not automatically mean beginner.
- Set up with bent knees, feet flat and the padded bar secure across the hip crease.
- Brace gently and lift through the hips, keeping both feet planted and the pelvis level.
- Lower with control rather than dropping the load onto the floor between reps.
Common mistake: loading it before you can lift and lower without shifting, cramping or arching excessively.
Make it simpler: remove the bar and use a comfortable bodyweight range. You can build confidence before progressing to the loaded demonstration.
You would usually choose either a hip thrust or a glute bridge for this part of a basic session. Doing both is not a requirement for better results.
03 / Squat pattern
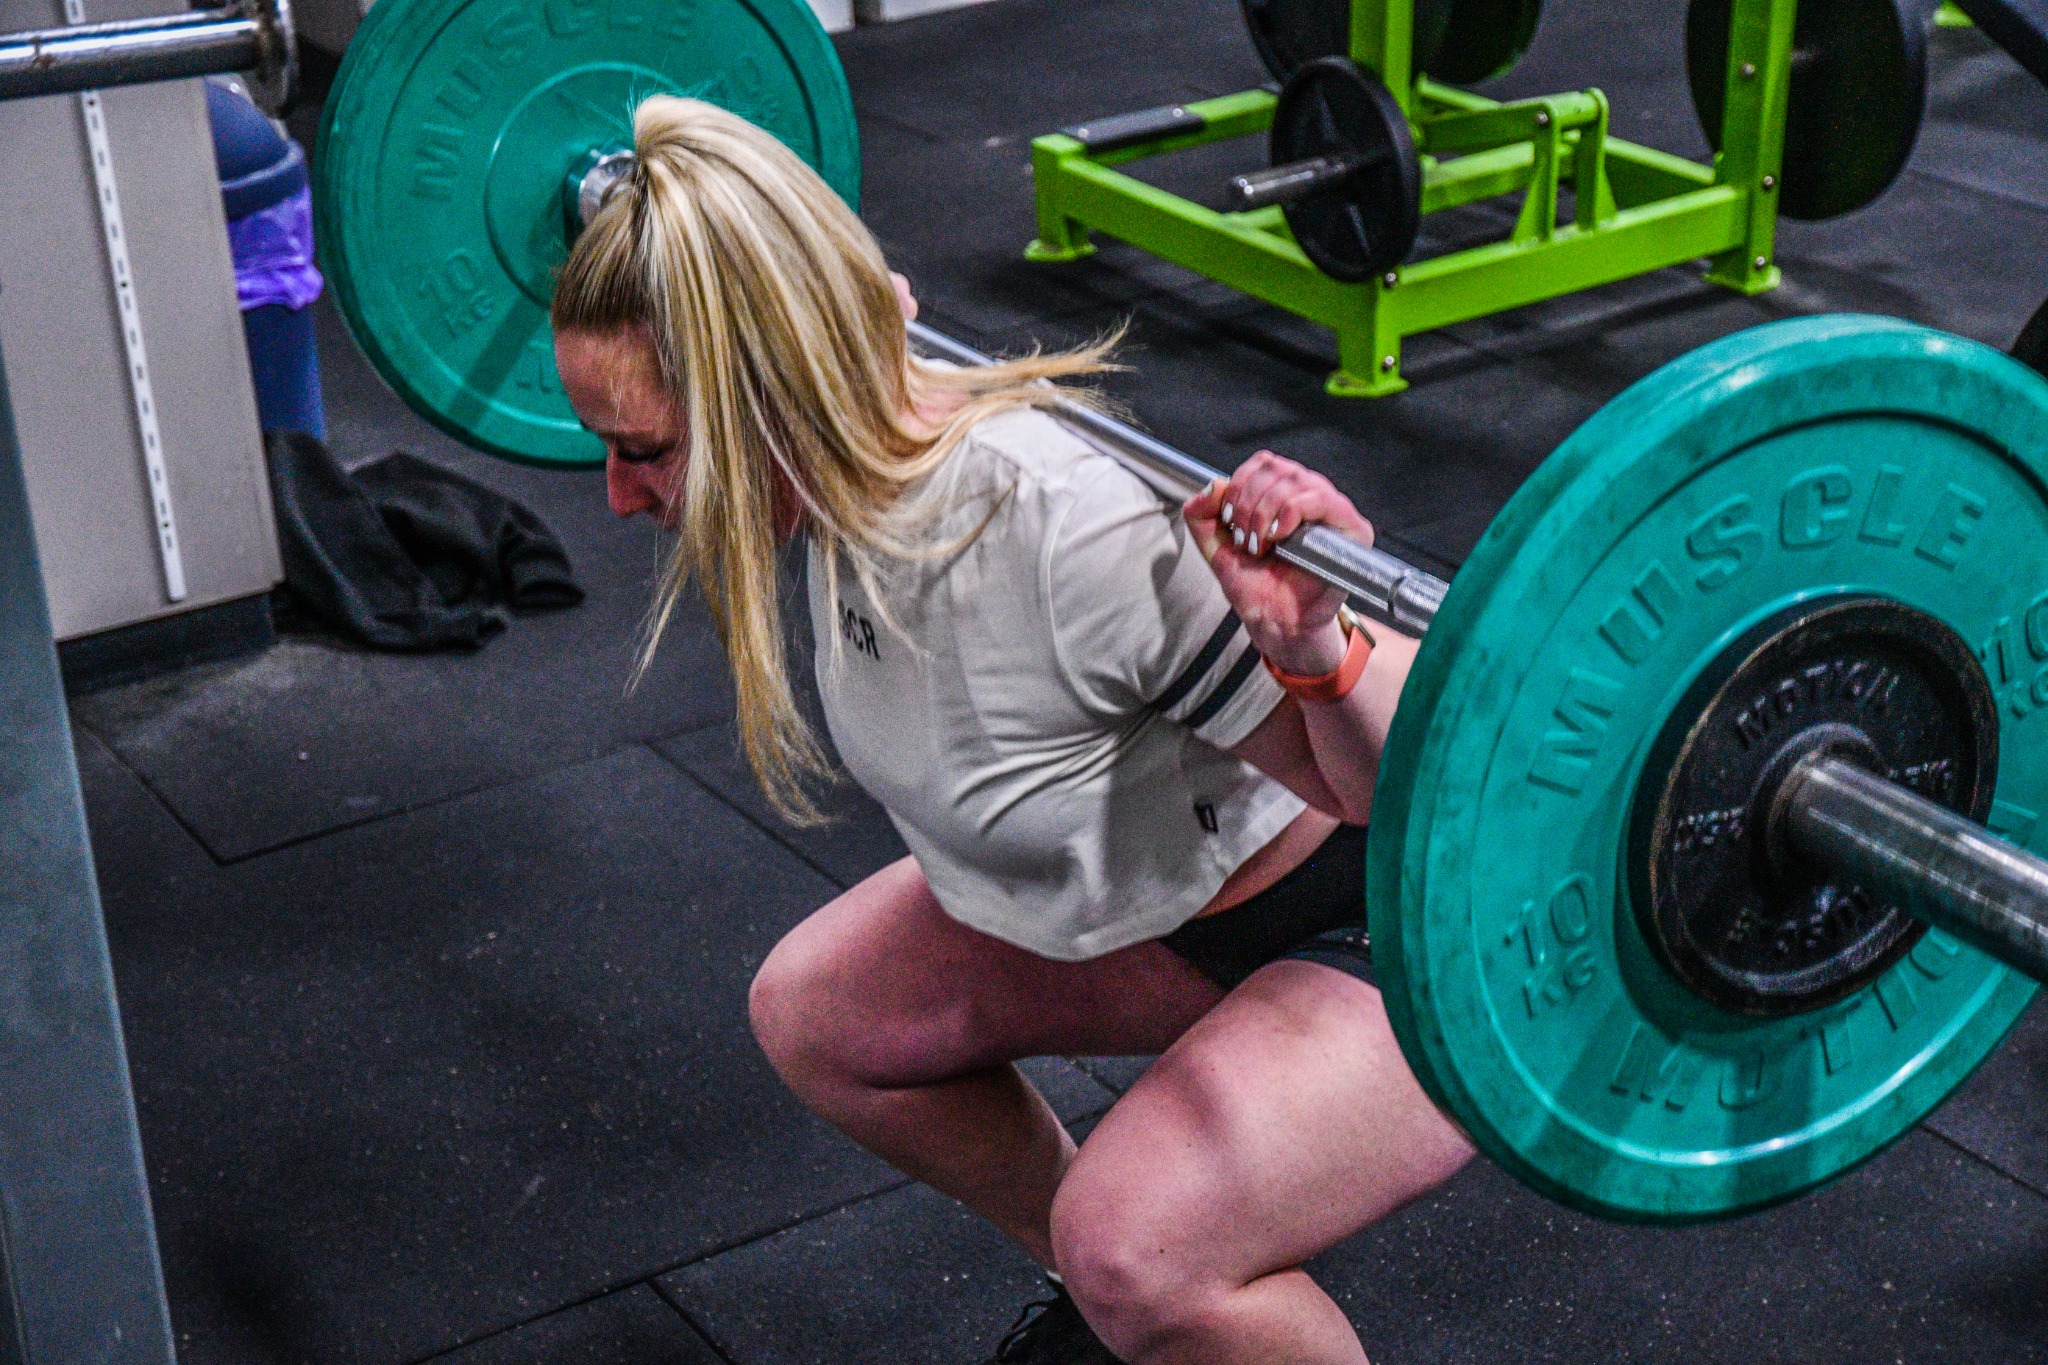
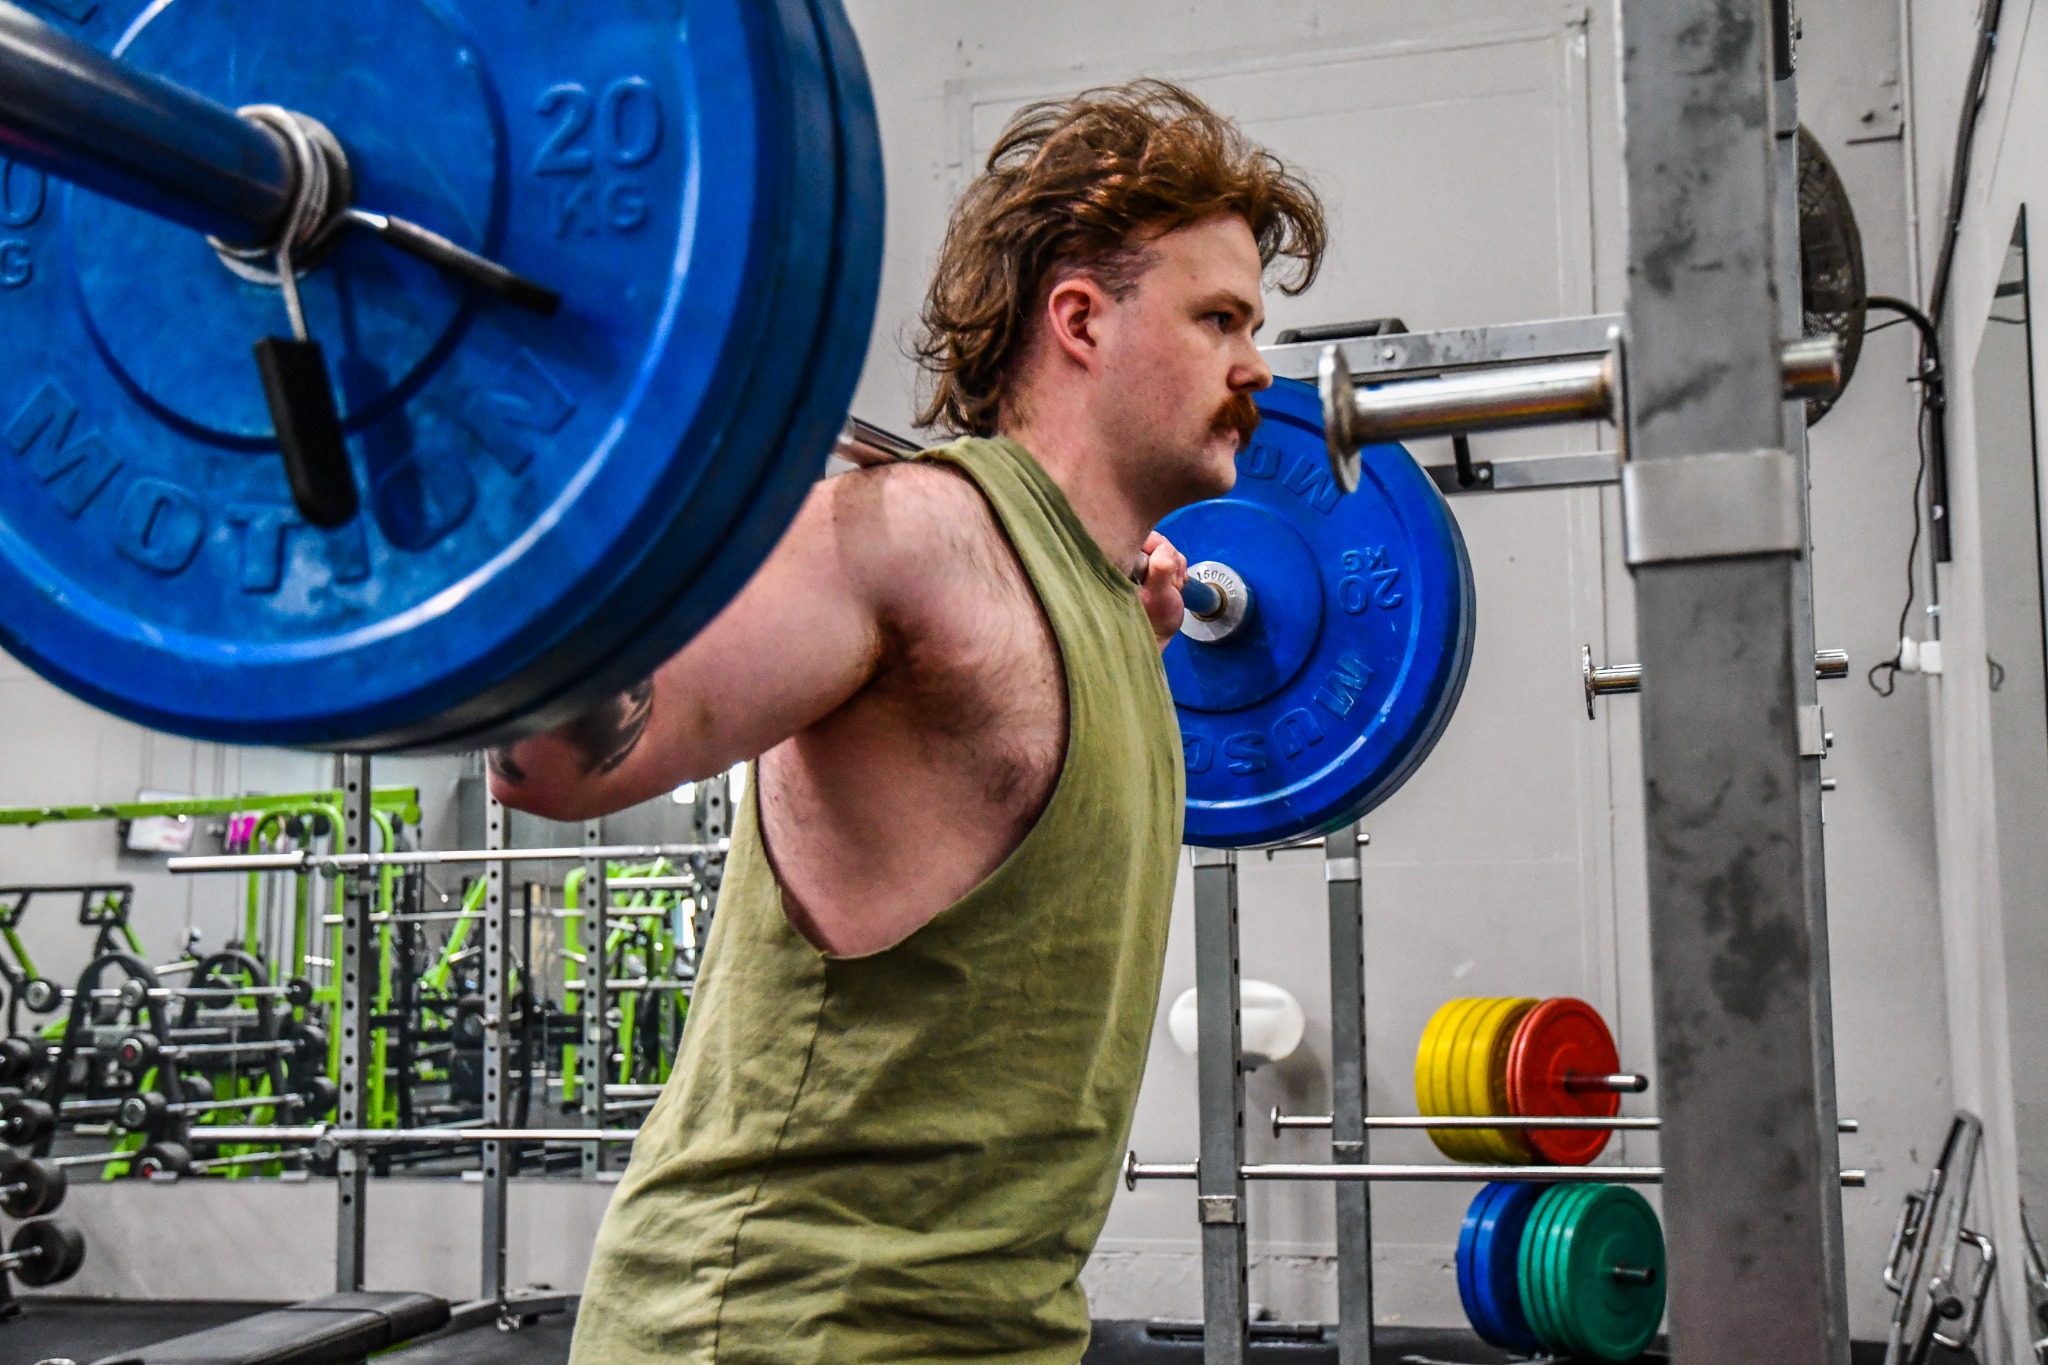
Barbell back squat.
The back squat trains the legs and glutes together. It makes sense when you want lower-body strength as part of a balanced physique, and you are comfortable with the barbell setup.
- Set the rack and safety bars for you. Establish a stable bar position across your upper back before stepping out.
- Brace, keep your feet firmly connected to the floor and let your knees travel in line with your toes.
- Use a depth you can control without pain or losing your balance, then stand up without letting your hips shoot up ahead of your chest.
Common mistake: adding weight while the useful range gets smaller and the movement gets less controlled.
Make it simpler: use a bodyweight squat to a box or a light goblet squat while learning the pattern. There is no requirement to start with a bar across your back.
04 / Hip hinge
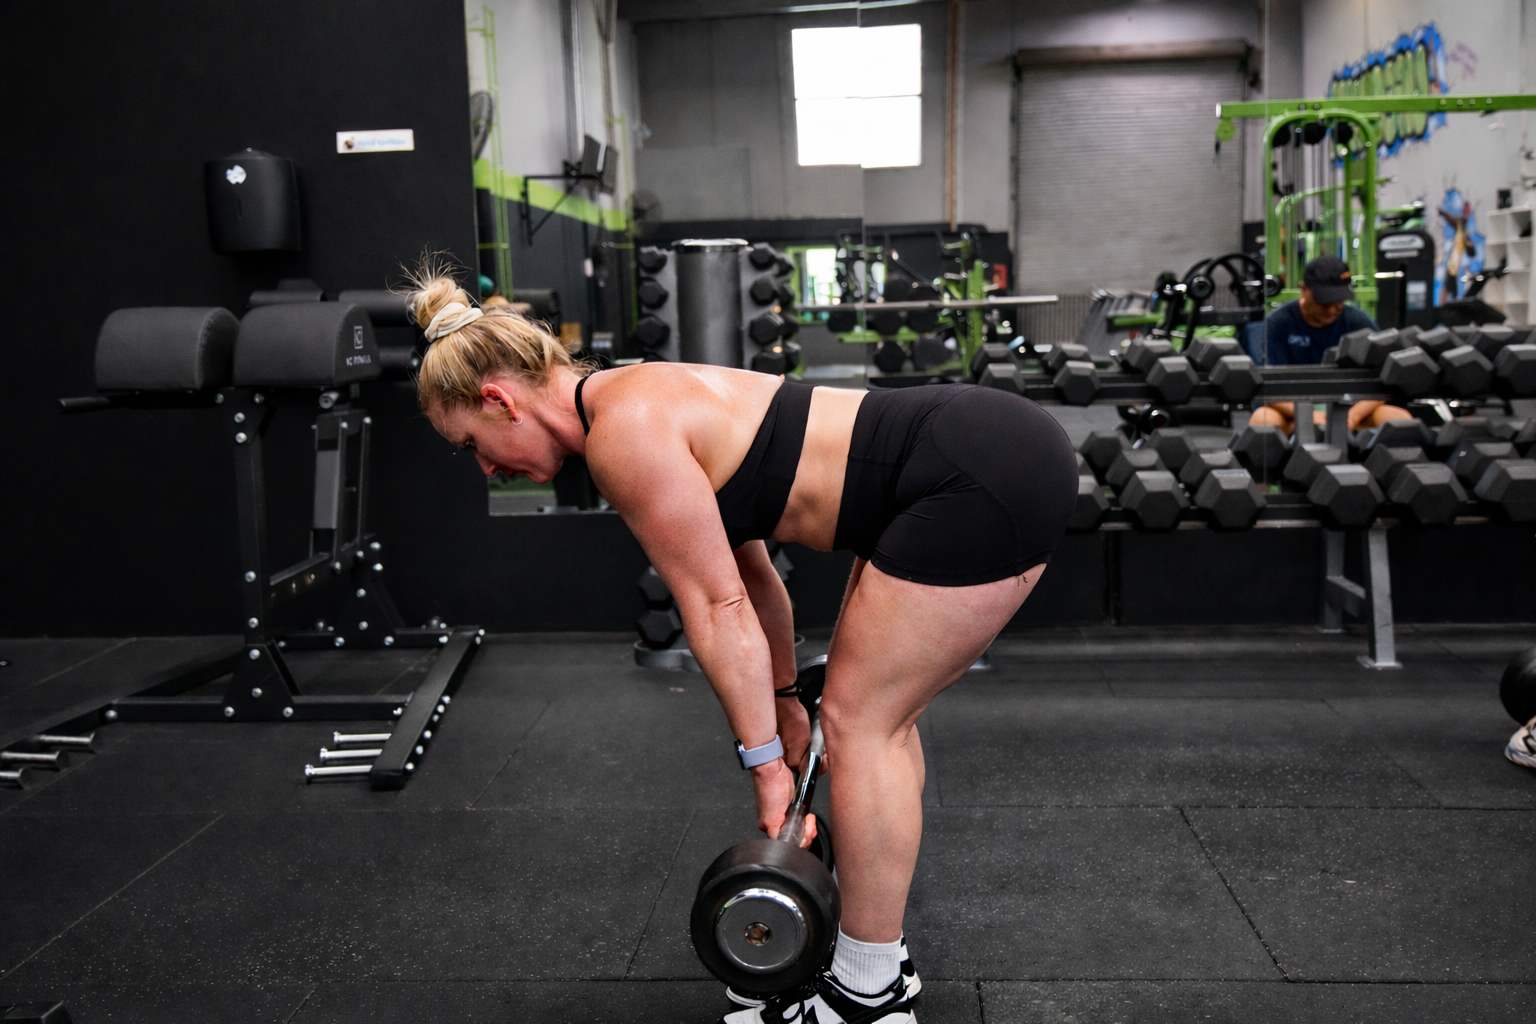
Barbell stiff-leg deadlift.
This is the stiff-leg deadlift shown in my demonstration. It is a hip hinge involving the hamstrings and glutes, with less knee movement than a squat. Exercise names sometimes overlap with Romanian deadlifts, but follow the version shown here rather than mixing several techniques together.
- Keep a slight, comfortable bend in the knees. “Stiff leg” does not mean forcing the knees into a locked position.
- Send the hips backwards and keep the bar close to your legs, with your trunk braced.
- Stop the lowering phase where you can still control the hinge. Stand by bringing the hips forward, without leaning back at the finish.
Common mistake: reaching for the floor after the hips have stopped moving, turning the last part into uncontrolled spinal movement. Reaching the floor is not the target.
Make it simpler: learn an unloaded hip hinge, then use light dumbbells and a shorter range. If you cannot keep the movement comfortable and controlled, get help with the setup.
05 / Split stance
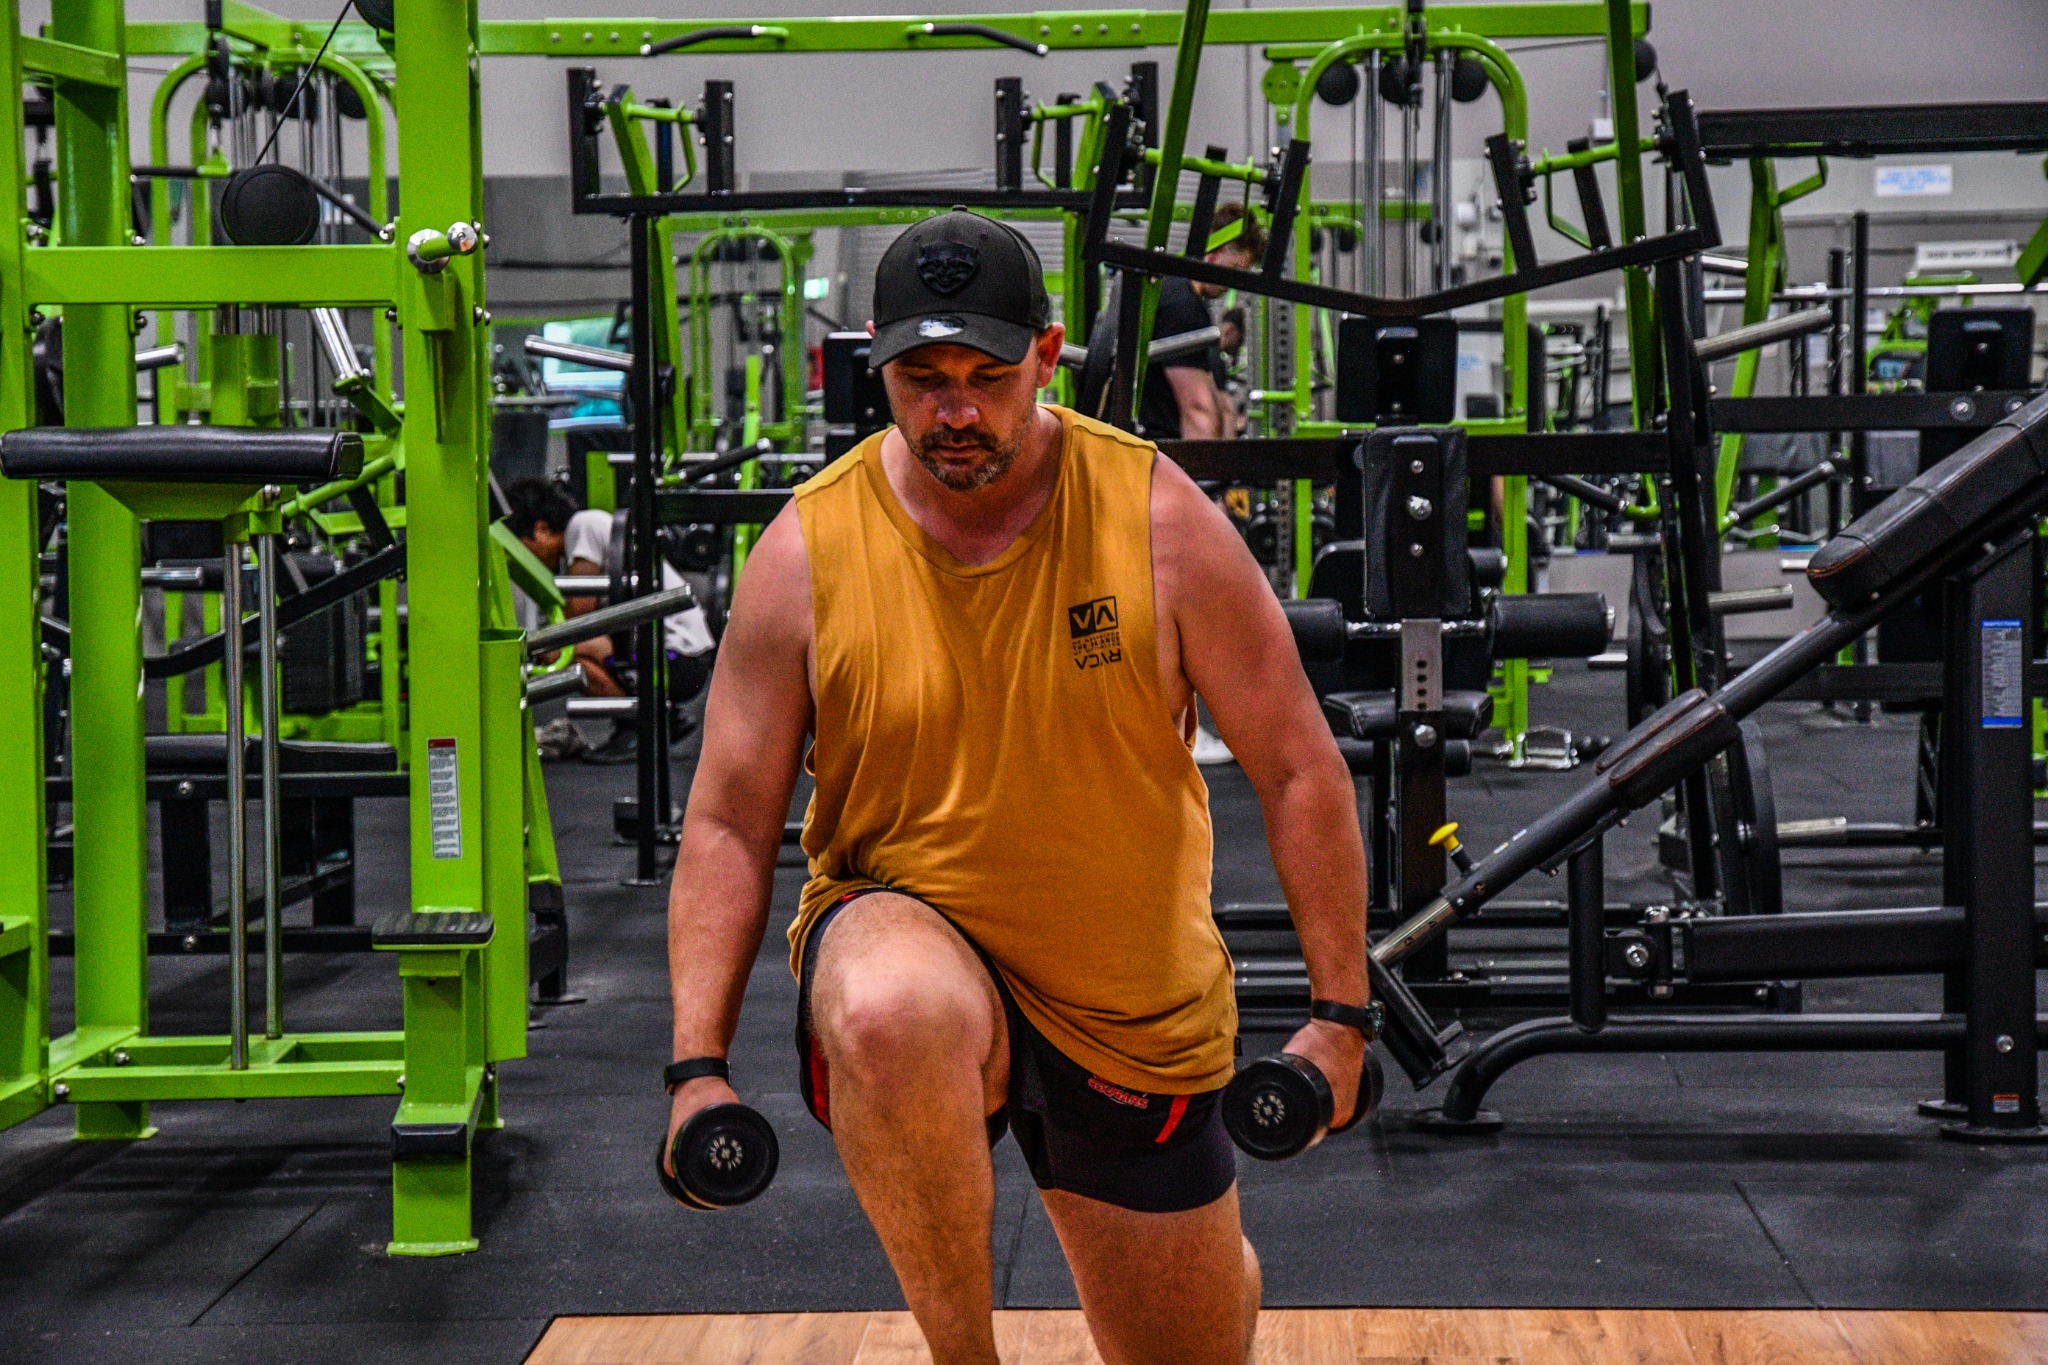
Dumbbell split squat.
In this version, the feet stay in a split stance while you lower and lift. It is not a walking lunge or a rear-foot-elevated Bulgarian split squat. The front leg does much of the work, with the rear leg helping you balance.
- Give your feet some side-to-side space instead of standing on a tightrope.
- Lower under control, keeping the front foot planted and the front knee moving in line with the toes.
- Push through the front foot to rise while keeping a steady torso position. Use a range that lets you repeat the same movement on each side.
Common mistake: choosing a load that makes balance the limiting factor before the legs can do useful work.
Make it simpler: start with bodyweight and hold a stable support. Build the movement before adding two dumbbells.
06 / Single-leg strength
Box step-up.
My video uses a 24-inch box. That is the height in the demonstration, not a starting height everyone should copy. Your leg length, strength and ability to control the step determine the right setup.
- Choose a stable box and place your whole working foot on it.
- Drive through the lead leg, using as little push from the trailing foot as you can manage with control.
- Keep your pelvis steady and control the return to the floor. The lowering phase is part of the rep.
Common mistake: choosing a box so high that you need to jump from the floor, swing or twist to get on top.
Make it simpler: use a lower step, bodyweight and a stable hand support. Increase height only if it improves the exercise for you; it is not a progression you must keep chasing.
07 / Side-of-hip strength
Machine hip abduction.
This is the seated machine where you push your knees outwards. Abduction means moving away from the midline. Adduction is the opposite movement, bringing the thighs inwards.
The machine gives you a supported way to load the muscles that move the thighs out. It can complement squats, hinges and single-leg exercises rather than replacing them.
- Adjust the seat and pads to fit, and choose a comfortable starting position.
- Open the legs smoothly while keeping your pelvis and torso steady.
- Control the return instead of letting the stack pull your knees together.
Common mistake: bouncing the stack or rocking the torso to move a weight you cannot otherwise control.
Make it simpler: reduce the load and range. If there is no machine, side-lying hip abduction is another way to practise outward leg movement, although the setup and resistance are different. [3]
From exercises to training
Two complete lower-body sessions.
You now have seven options. The next step is choosing an amount of work you can recover from and repeat—not trying to squeeze the entire list into every leg day.
I usually build workouts around six or seven exercises. Here are two sample sessions with six exercises each: the main glute movements, complementary leg work and a core exercise to finish. The extra exercises give the session more balance; they are not all extra glute work.
This is an illustrative arrangement for someone already comfortable with the movements, not your personalised program or the Empower prescription. If you are new, use the simpler versions and begin with fewer exercises or sets as needed.
| Session | Exercise | Working sets × reps |
|---|---|---|
| A | Barbell back squat | 2 × 8–12 |
| Hip thrust or glute bridge | 2 × 8–12 | |
| Seated leg curl | 2 × 10–15 | |
| Machine hip abduction | 2 × 12–15 | |
| Standing calf raise | 2 × 12–15 | |
| Dead bug | 2 × 6–10 per side | |
| B | Barbell stiff-leg deadlift | 2 × 8–12 |
| Dumbbell split squat or an appropriate-height step-up | 2 × 8–12 per side | |
| Leg extension | 2 × 10–15 | |
| Machine hip abduction | 2 × 12–15 | |
| Seated calf raise | 2 × 12–15 | |
| Side plank | 2 × 15–30 seconds per side |
Why add these exercises?
The seated leg curl adds hamstring work through knee bending alongside Session A’s squat and thrust. The leg extension adds direct quad work to Session B’s hinge and single-leg exercises. Calf raises round out the lower-body work, while the dead bug and side plank give each session a different core-control task.
- Leg curl and leg extension: adjust the machine to fit, keep your hips supported and use a comfortable range without swinging or slamming the stack.
- Calf raises: rise and lower smoothly through a comfortable ankle range. Use support for balance and avoid bouncing.
- Dead bug: lie on your back with your arms up and hips and knees bent. Slowly reach the opposite arm and leg away without letting your lower back arch. Shorten the reach or move one limb at a time if needed.
- Side plank: place your elbow beneath your shoulder, lift your hips and keep breathing while holding a steady line. Start with bent knees if needed, and finish the hold before your position drops.
The seven video demonstrations above cover the main glute exercise options. These complementary exercises are additional choices; ask me to check the setup if any are unfamiliar.
Warm up and use lighter practice sets before your working sets. Rest around two minutes between demanding compound sets, longer if you need it to repeat good technique. Around 60–90 seconds can suit the smaller accessory and core exercises; take longer when needed. Start the loaded exercises with a weight that leaves roughly two or three controlled reps available. For core work, stop before you lose position or have to hold your breath.
These numbers are coaching examples, not a special formula for glute growth. Your other training counts too. If you already follow a program, fit the work into it rather than simply adding all these sets on top.
How to progress
Record your weights and reps. If your target is 8–12 reps, build towards the top of that range with consistent technique. Once you can repeat it across your sets, try the smallest sensible load increase and build the reps again. Keep the same useful range rather than adding weight at its expense.
The 2026 ACSM guidance supports regular resistance training tailored to the person, and makes clear that training to failure is not essential for the average healthy adult. You can work hard without every set becoming an all-out test. [2]
Common questions
What else matters?
Can I build glutes with squats alone?
Squats can build glute muscle, but they are not your only option. A thrust or bridge, a hinge and some single-leg or abduction work give you different ways to train. You do not have to use every option to make progress.
Do I need to train glutes every day?
No. In the example above, you train them twice per week and recover between sessions. The right schedule depends on the amount of work, your experience and your other training. More days are only useful if the workload still makes sense.
What if I feel my quads or hamstrings too?
That is expected in many of these movements. Squats and split squats involve the thighs; the stiff-leg deadlift involves the hamstrings. A muscle does not need to work alone for an exercise to be useful. Sharp pain, pinching or symptoms that worsen are a reason to stop and get the movement assessed.
Do I need to be sore for it to work?
Use repeatable performance as your main feedback: technique, reps, load and recovery. Soreness is not a score you need to beat after every session.
What about food?
Training and nutrition need to support the same goal. If you are unsure where your food intake sits, start with my seven-day food diary guide. It explains how I build a clearer starting point before narrowing the targets.
Want a program to follow?
Give the exercises a plan.
If you are a woman looking for structured gym training with glutes, legs and whole-body development in mind, Empower I: Sculpt is worth a look.
It runs for eight weeks, with four training days per week across two four-week phases. The split is Push, Pull, Legs and Full Body, with progressive work for the glutes, legs, shoulders, arms and core.
It takes the next step beyond collecting exercises: knowing what you are doing, how it progresses and where each session fits. The later Empower stages build on that foundation when you are ready.
Want help with your technique in person? I also offer personal training at Lifechoice Fitness in Bayswater.
Sources & demonstrations
Exercise demonstrations are my own. The selections, coaching cues and sample arrangement above are practical guidance, not a claim that research has ranked these seven exercises in this order.
- Plotkin and colleagues (2023): Hip thrust and back squat training elicit similar gluteus muscle hypertrophy.
- American College of Sports Medicine: 2026 resistance training guidance.
- Cambridge University Hospitals: hip strengthening exercises. Includes side-lying hip abduction and bridging options; it does not validate the full gym routine above.